Loading Signals
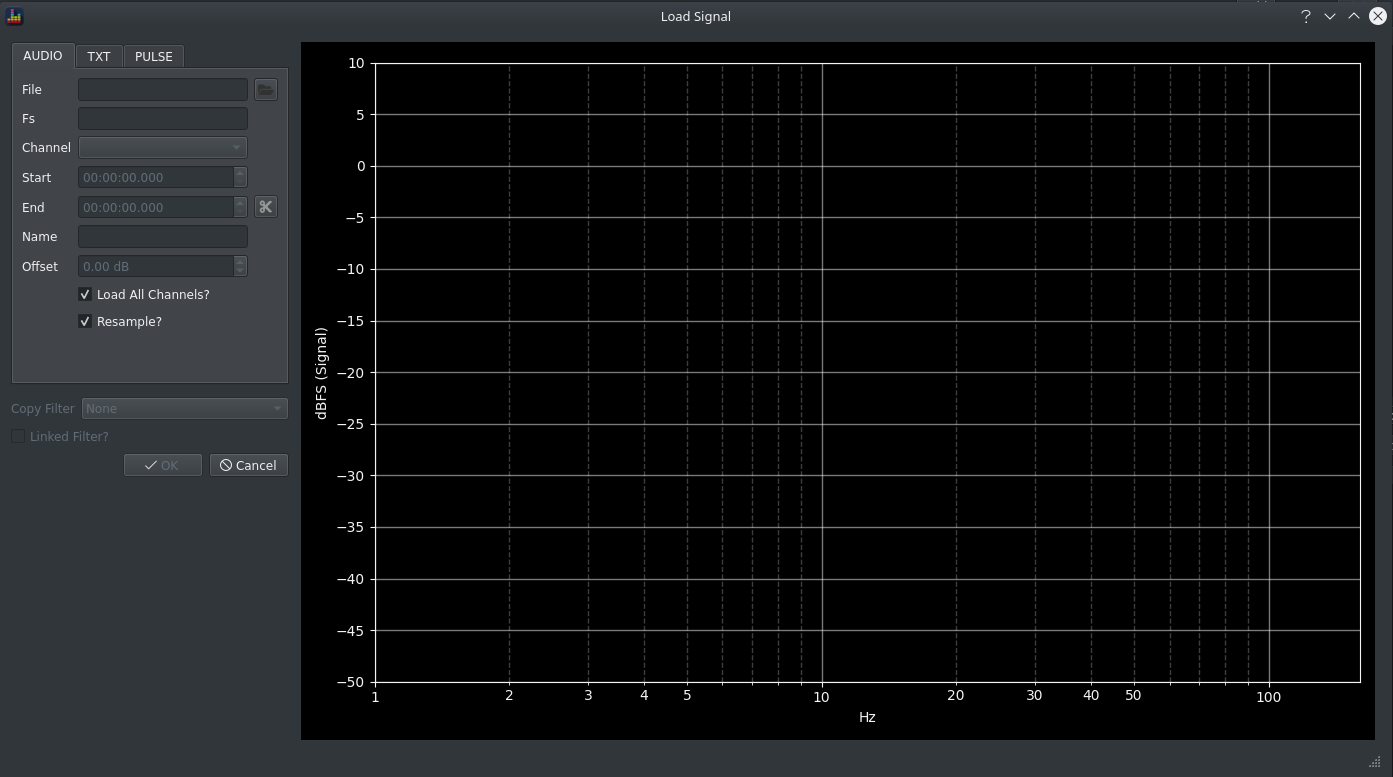
The Load Signal dialog allows you to load one or more signals from a selected audio file or from txt files using the common FRD format.
It contains a series of fields for data entry and another graph pane which will show a preview of the selected signal.
Adding 1 or more Signals from an Audio File
- Click the button next to the file field and select an audio file (wav or flac are supported) via the resulting file dialog, multichannel audio files are supported.
- If the file is loaded successfully, a preview of the response will be shown along with:
- the sample rate of the track
- (if multichannel), a channel selector dropdown
- the duration via the end time field
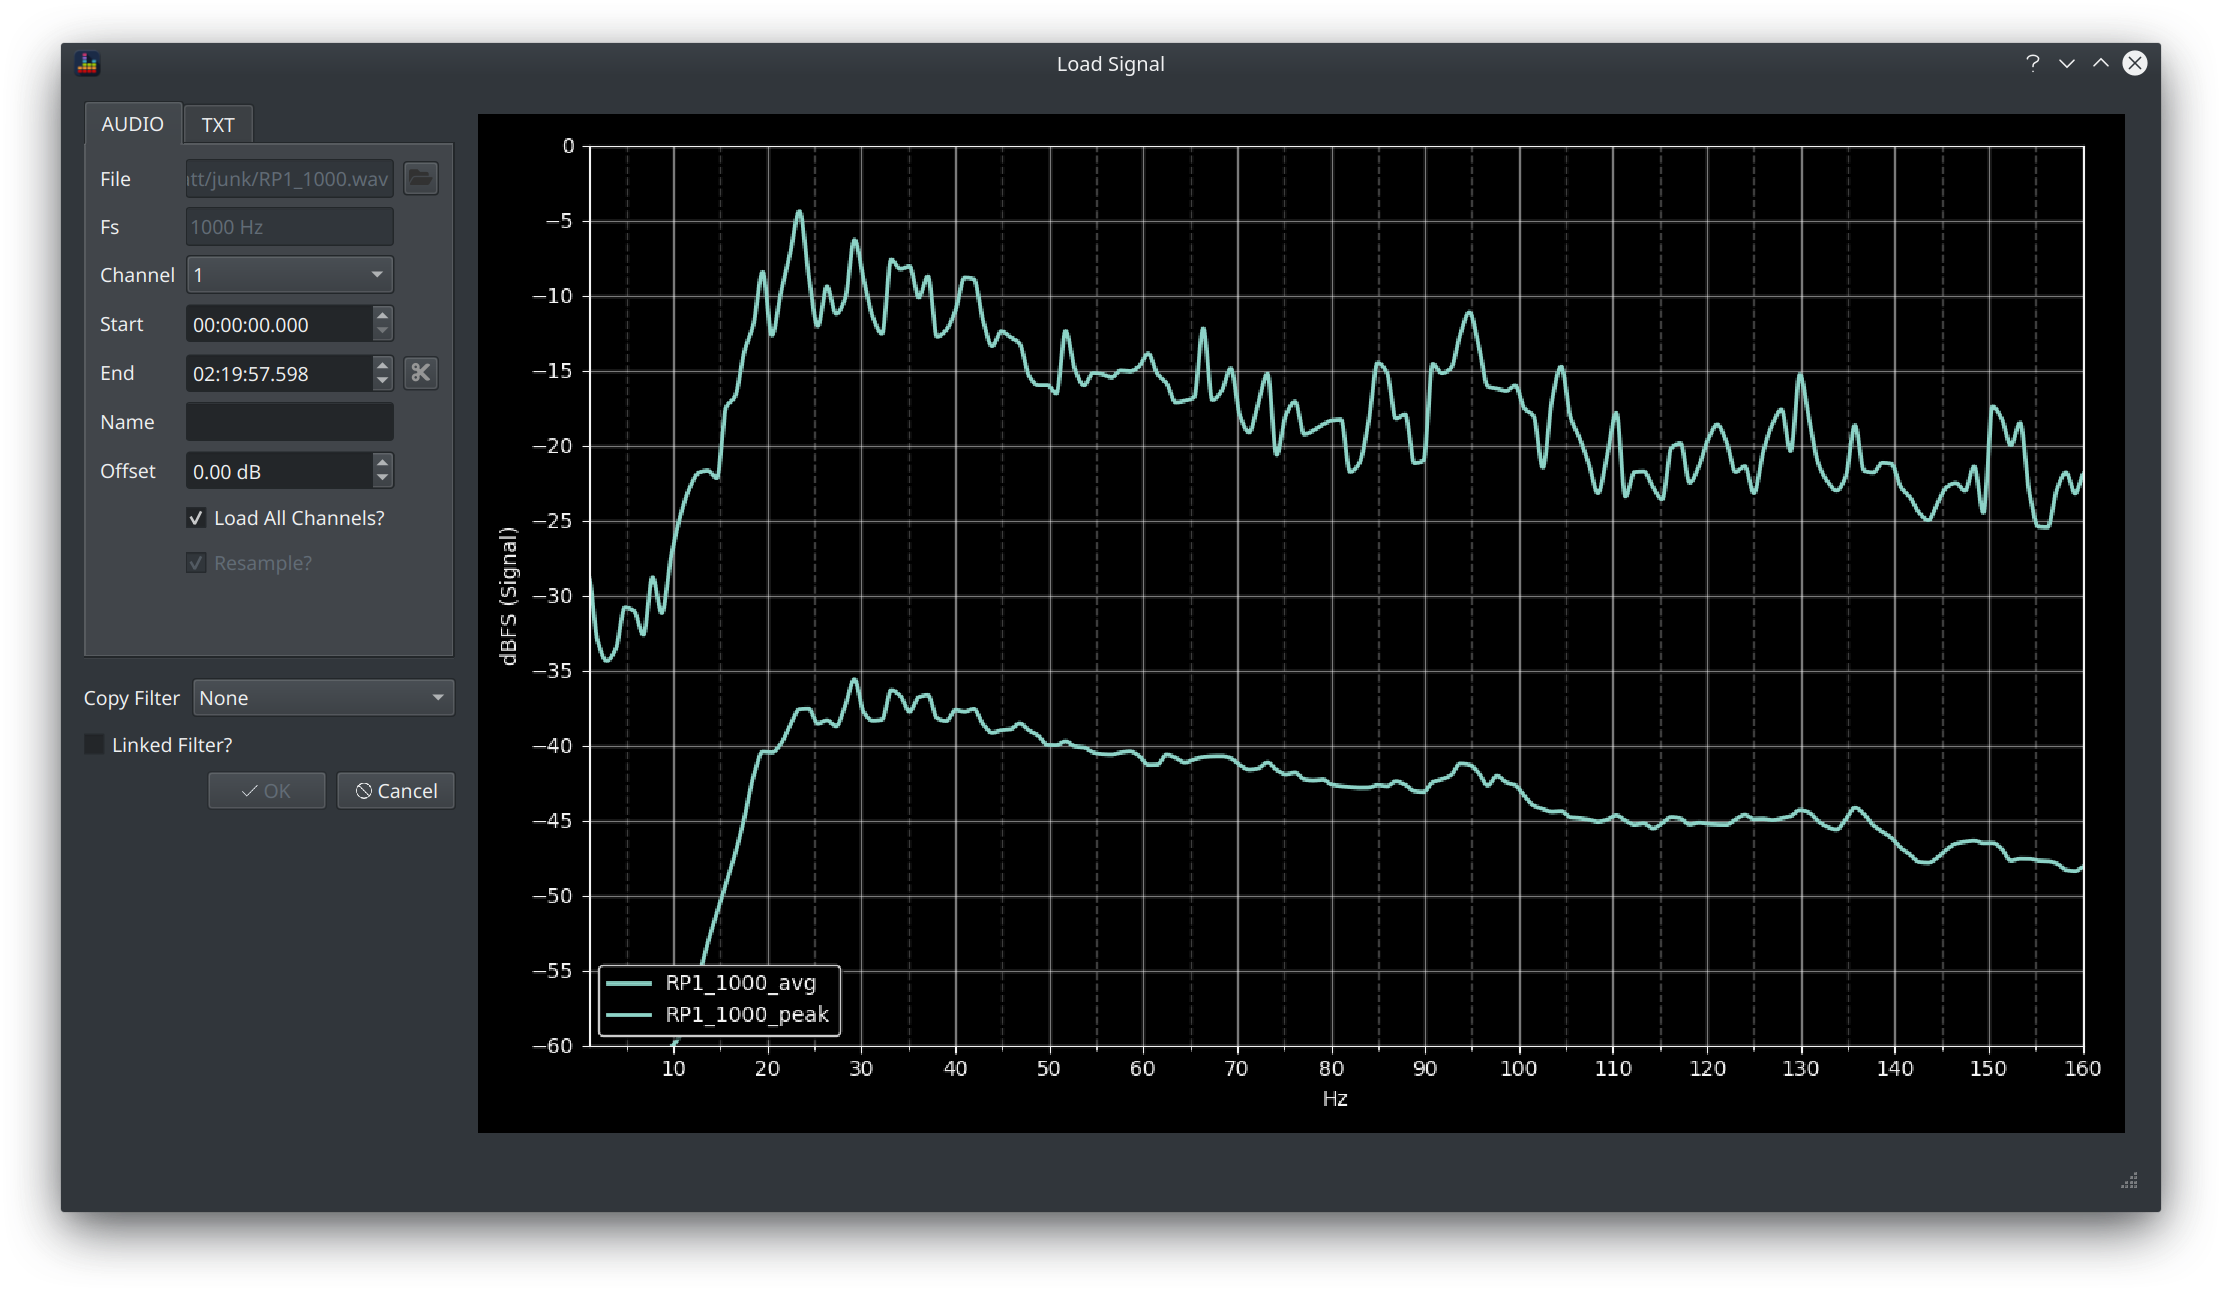
- You can now choose exactly how you want to create the signal using the remaining controls. The preview chart will update as each change is made.
- Name the signal by typing text into the name field
- Click OK, the dialog will close and the signal(s) will now be available via the main screen.
Dealing with Multichannel Audio Files
If the selected audio file contains more than 1 channel, the channel dropdown will be enabled.
Changing the selected channel will update the preview chart to show the selected channel.
Loading One Signal
Uncheck the Load All Channels? checkbox to load a single channel.
Loading All Channels
Check the Load All Channels? checkbox to load all channels.
The resulting signals will be named according to the channel layout of the audio file as <name>_<channel_suffix>
For example, if you
- load all channels from an 8 channel wav file
- enter RP1 in the name field
then 8 signals will be loaded named
- RP1_L
- RP1_C
- RP1_R
- RP1_LFE
- RP1_BL
- RP1_BR
- RP1_SL
- RP1_SR
This naming convention becomes useful when Remuxing
Loading all channels also enables the Bass Management Simulation.
Loading a section of the track
It can be useful to zoom in on a particular demo scene, to do this find the timecodes for the scene via your usual playback software and then:
- enter the start time into the Start field
- enter the end time into the End field
- click the scissors buttons
Changing the signal level
The signal level can be changed via the use of a Gain filter or by applying an offset when adding the signal. This is achieved using the offset field and it applies the specified gain adjustment to the signal when it is added.
The on disk file is not affected by use of this option.
Resampling
If the selected audio track is an original audio file, it will be at some higher sample rate (typically 48kHz for movie content and 44.1kHz for audio).
This resolution is largely unnecessary for BEQ filter design purposes so resampling to a lower sample rate (1kHz by default, see Preferences for more detail) will make the application much more responsive during filter design.
Check the Resample? box to decimate the signal as it is added.
Warning
Full range signals can require a large amount of RAM to analyse. Use a machine with at least 12GB of RAM if you plan to analyse a 2 hour long 7.1 audio track at 48kHz.
Applying Filters
If other signals have already been loaded, two further options are available
- copy a filter from an existing signal to this signal using the Copy Filter dropdown
- link this signal as a slave using the Linked Filter checkbox
Adding a signal from an FRD file
The FRD file format is commonly used in speaker design and room eq software. 2 files are required in order to provide data for the peak and average views.
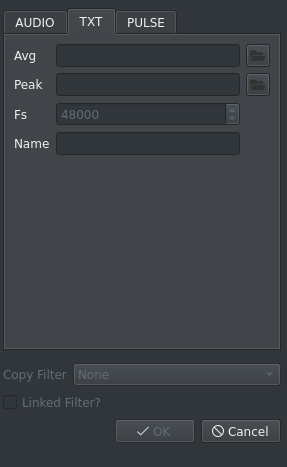
- Click the TXT tab
- Click the button next to the avg field and select an FRD file containing the avg data
- Click the button next to the avg field and select an FRD file containing the peak data
- BEQDesigner will set the sample rate as 2x the max frequency in the FRD, leave this value as is
- BEQDesigner will set the signal name based on the FRD file name, edit this as necessary
- If signals have already been loaded then filters can be applied if desired
- Click OK, the dialog will close and the signal(s) will now be available via the main screen.
Info
The spectrum and waveform views are not available when using signals loaded from FRD files.
Adding a signal from a unit impulse
The pulse option creates a signal from a unit impulse where the pulse is located at the centre of the waveform.
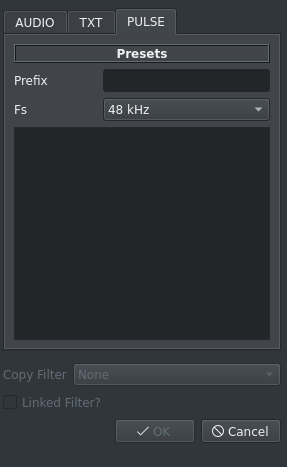
- Click the PULSE tab
- Enter some text in the prefix field
- Select a sample rate
- Click OK, the dialog will close and the signal(s) will now be available via the main screen.