Remux Audio
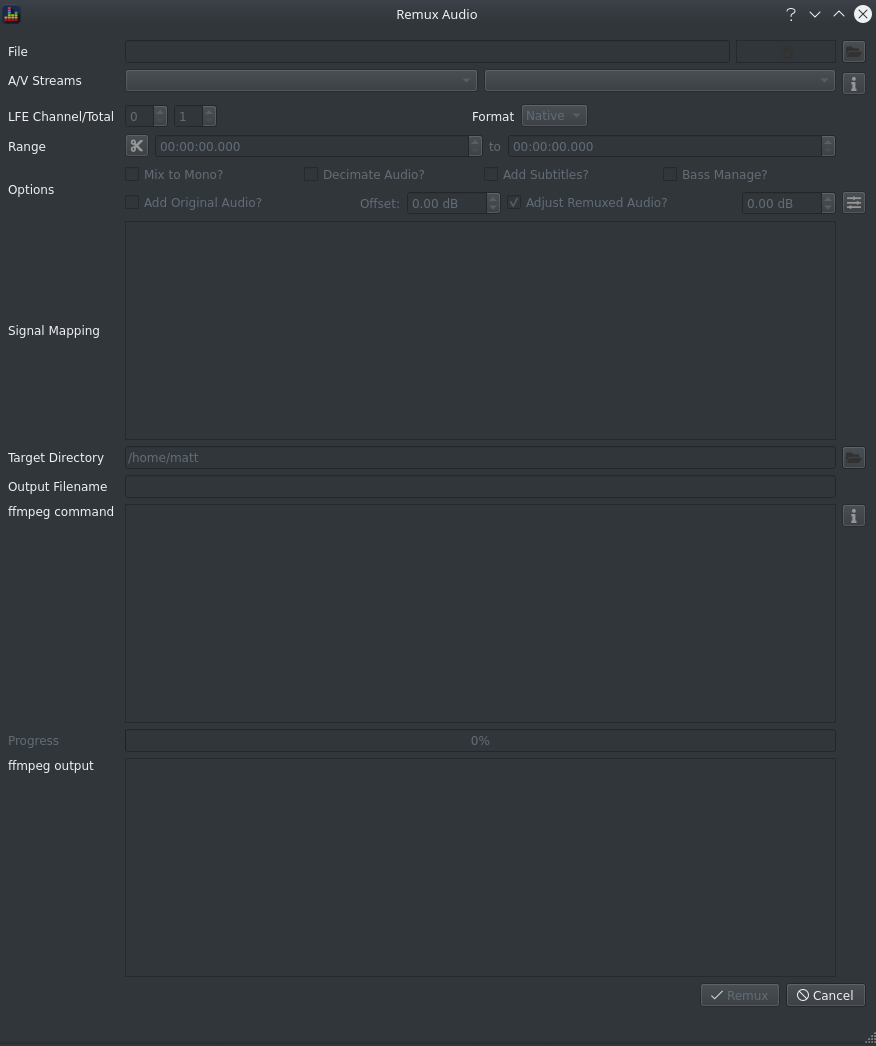
The Remux Audio dialog allows you to apply filters to an audio track and create a new file containing a video track, the filtered audio and, optionally, the original audio track.
Some common ways to use remux are found in the workflow section
Info
Most options behave the same as found in Extract Audio so only options specific to remuxing will be covered here.
Prerequisites
- You have a set of filters to apply
- You understand which channels to map those filters to
- You understand what, if any, gain adjustments are required to avoid clipping
- You have the source file containing the video and audio you want to put into the output
- You don't care about Immersive Audio content
Approach
- Load all channels from the source audio as signals
- Apply filters and/or link signals as necessary
- Open the Remux dialog using
Tools > Remux AudioorCTRL+U - Select the source file
- Pick the desired audio and video tracks
- Ensure the following options are unchecked
- Mix to Mono
- Decimate
- Select other options as desired
- Add Subtitles
- Add Original Audio
- Format
- Apply volume offsets to the remuxed audio and/or original audio tracks as desired
- Update the mapping of filter channels to source audio channels via the Signal Mapping dialog
- BEQDesigner will automatically map filters to channels if all source audio channels have been added as signals before the remux dialog is opened
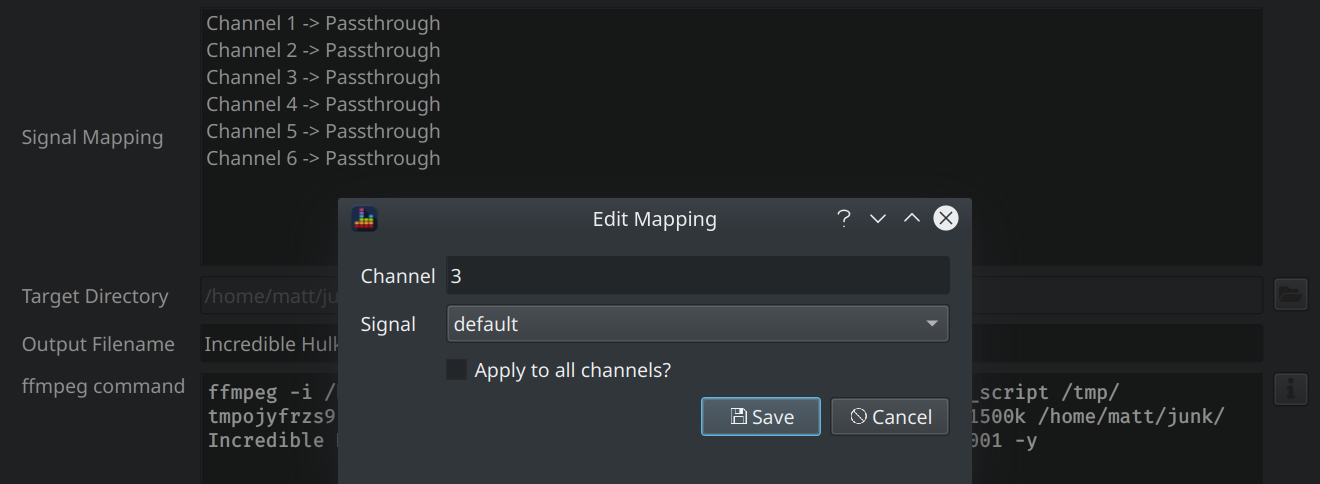
- BEQDesigner will automatically map filters to channels if all source audio channels have been added as signals before the remux dialog is opened
- Set the output directory and filename
- Click Remux
- Sit back and wait for the processing to complete
Warning
- ffmpeg does not handle all subtitles so choosing this option may produce unrecoverable errors while remuxing.
- ffmpeg only supports 5.1 output when compressing audio using EAC3
- some playback devices do not support 7.1 audio encoded to FLAC